
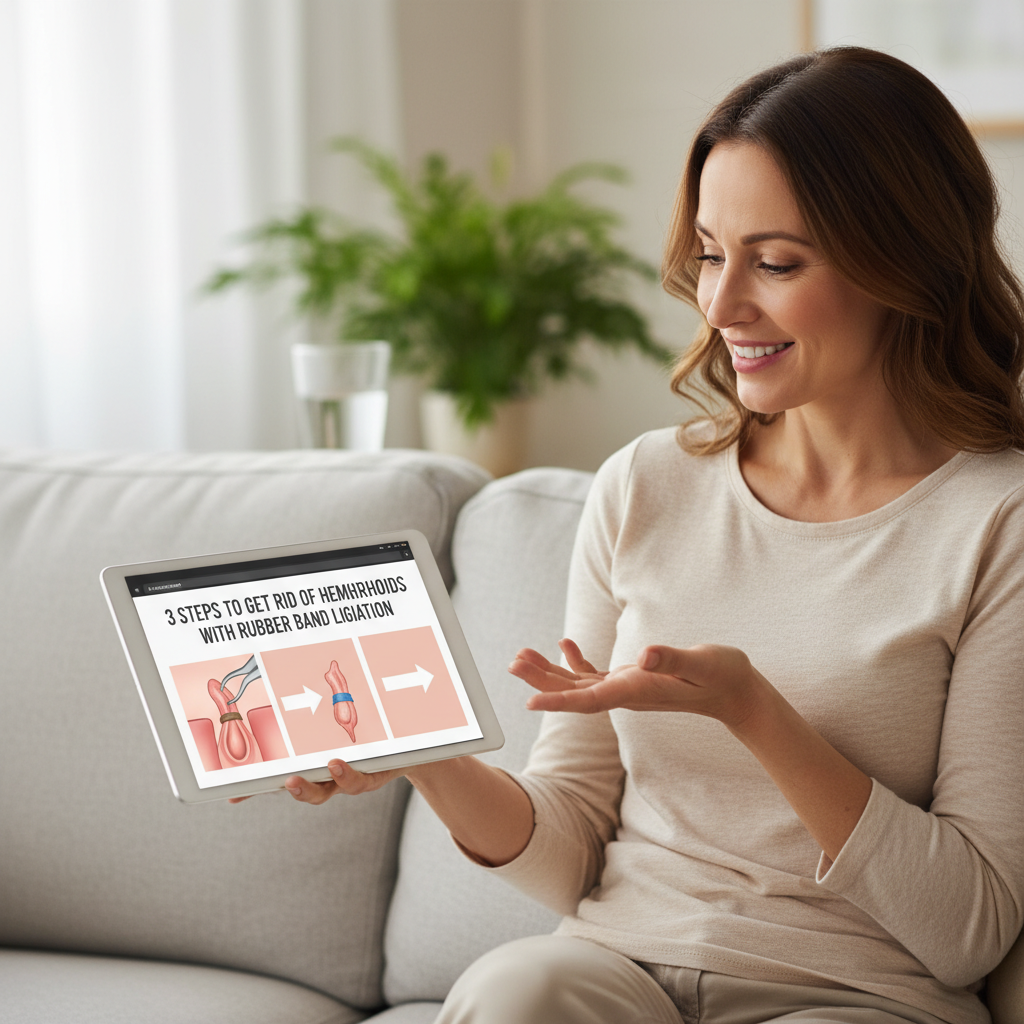
3 steps to get rid of Hemorrhoids with Rubber Band Ligation
Hey potty master, welcome to a quick friendly check in about the rubber band ligation procedure for hemorrhoids. If you’ve been juggling itchiness, swelling, and that persistent urge that ruins a good couch session, you’re not alone. This isn’t a scary mystery novel it’s a practical path toward relief. Think of this chat as a comfy coffee break where we break down what this option could mean for you, without the drama.
Across the next few minutes we’ll lay out the three steps in a way that makes sense in real life. This isn’t a lecture this is real talk with a plan you can picture your calendar around. We’ll touch on how to decide if you’re a candidate for the rubber band ligation procedure, what you might feel during the treatment, and how to handle the days after. Visualize a small band doing its job, a little discomfort that fades, and a quick return to doing the things you love without worrying about flare ups.
Step one is the easy part but it matters most: talk with your healthcare provider about your symptoms medical history and goals. This is where you get the lay of the land and a clear sense of the options. It’s not about telling you what to do it’s about helping you decide what fits your life. Step two is the treatment day. The setup is straightforward you sit or lie in a comfortable position a tiny band is placed at the base of the hemorrhoid and you may notice a gentle pressure. It’s usually quick and well tolerated. Step three is the aftercare. You might feel some mild soreness a small amount of bleeding or a sense of fullness as healing begins. Following instructions staying hydrated avoiding heavy lifting and giving yourself time to rest can speed things along.
In this three step journey there are a few things that can reassure your days ahead. For most people the process brings real relief a smoother bowel pattern and less irritation. It’s also totally normal to want to know when you can return to activities and how long you need to avoid certain routines. The answer varies by person but your clinician will tailor guidance to you. The important part is staying informed and listening to your body. If something feels off or you notice red flags such as fever excessive bleeding or worsening pain reach out to your care team right away.
Let’s end with a little perspective. Relief is not a rumor it is achievable and it starts with understanding the flow of the rubber band ligation procedure. This overview is here to empower you to visualize the steps and to feel confident about the path forward. You are not alone in this you are part of a community that has found comfort and long lasting results through a thoughtful approach. So take a breath settle in and get ready to dive into the details below the way you would settle into your favorite podcast episode.
Rubber band ligation procedure: practical steps
Great, you’ve got the lay of the land from the overview. Now we zoom in on real-life details with a calm, pragmatic vibe and a touch of wit. This is your roadmap from candid talk to daily routine, aimed at keeping anxiety in check while you learn what to expect from the Rubber band ligation procedure.
1. Candidate check-in: who qualifies and what to tell your clinician
This first stop is a collaboration, not a sales pitch. You and your clinician are assembling a clear picture of whether rubber band ligation is the best fit for your anatomy and aspirations. Expect questions about how long the symptoms have bothered you, how they interfere with daily life, and what outcomes you’re hoping for. The clinician will review your medical history, current medications (yes, even over-the-counter supplements and any anticoagulants), allergies, and prior procedures. The goal is to map your unique situation to the realities of the procedure—what it can fix, what it can’t, and which twists in the plot might lead to an alternative path. Depending on the case, your team may recommend a quick scope to rule out other issues that mimic hemorrhoid symptoms, because precision beats mystery when it comes to your rear-end well-being. As you prepare, bring a clear list of medications, a note of any past anesthesia experiences, and a few questions you want answered. Questions you might find useful include: Am I a good candidate for rubber band ligation? How many bands would be placed in a typical session for my situation? What is the expected recovery timeline given my health history? Are there safer or more effective options if my anatomy isn’t a perfect match? This conversation sets the tone for a practical, personalized plan and helps you stay in the driver’s seat of your care rather than a passive passenger.
2. The treatment day reality: what happens during the procedure
On the day itself, the moment-to-moment drama is politely brisk. You’ll be seated or lying in a comfortable position while a clinician uses visualization to locate the hemorrhoidal tissue that needs attention. A tiny rubber band is placed at the base of the targeted hemorrhoid, effectively cutting off its blood supply so it withers away. If there are multiple hemorrhoids involved, a separate band is applied to each site. The entire process is quick, usually lasting only a few minutes per hemorrhoid, and most patients report feeling only mild pressure or a brief pinch rather than intense pain. Anesthesia is typically minimal—often none, though some clinics offer local anesthesia for extra comfort. The setting is outpatient, meaning you’ll likely go home shortly after the procedure once the initial checks are complete. Aftercare guidance is handed over with practical tips: keep the area clean, avoid aggressive wiping, and refrain from heavy lifting for a short period. Expect that the band will fall off in about a week as healing progresses, and mild soreness or light bleeding can occur in the days after. If you experience unusual or worsening pain, fever, or heavy bleeding, contact your care team promptly so they can intervene if needed. This phase is all about precise execution and gentle recovery, not suspenseful drama.
3. Aftercare and lifestyle tweaks: settling into relief
Recovery is where your longer-term relief starts to take shape, and where daily habits matter as much as the procedure itself. The immediate aftermath often includes mild soreness around the treated area and occasional light bleeding as the tissue heals. Most people notice gradual improvement in comfort and bowel function within days to a couple of weeks, though timelines vary. A high-fiber diet, adequate hydration, and possibly stool softeners are your best friends here, helping to minimize strain during bowel movements and protect healing tissue. Gentle activity is encouraged, but you’ll want to avoid heavy lifting and strenuous exertion for a short window, then ease back into your usual routine as comfort allows. Patience is part of the plan, because results can unfold at different paces. Red flags—fever, increasing or heavy bleeding, or worsening pain—should prompt a timely check-in with your clinician. Real-world outcomes are often favorable: many people experience a smoother bowel pattern and less irritation, but it’s also possible that a follow-up treatment or alternative approach is needed down the line depending on your response. The key is staying informed, sticking to the recommended aftercare, and keeping the lines of communication open with your care team so you can track progress and adjust expectations as you go.
Recovery milestones after rubber band ligation
After the procedure, recovery is a gradual, manageable process rather than a sprint. You’ll likely notice relief as healing progresses, but the pace varies from person to person. This section outlines realistic milestones, practical tips, and red flags to keep an eye on, so you can plan your days with confidence rather than worry.
Immediate aftercare: first 24 to 72 hours
Expect mild soreness at the treated site, a sense of fullness, and perhaps a small amount of blood after bowel movements. Prioritize comfort by avoiding long periods of sitting, keeping the area clean and dry, and staying well hydrated. A high-fiber diet with regular fluids helps stools pass more easily and reduces straining. If your clinician prescribed a stool softener or topical relief, use it as directed. Gentle routines—warm sitz baths a few times a day, careful cleansing rather than aggressive wiping, and light activity—support healing without disrupting the process. If pain intensifies, you notice heavy bleeding, fever, or the area becomes markedly red or swollen, contact your care team promptly.
Short-term healing: days to about two weeks
Many people see continued improvement in comfort and bowel function during this window. The band typically detaches within about a week, signaling tissue healing. You can gradually resume routine activities as comfort allows, but avoid heavy lifting and strenuous exertion for a little longer. Stay with the fiber-and-fluid routine, and continue gentle movement to prevent constipation. Some mild bleeding or spotting can occur with bowel movements and is usually normal if brief. If bleeding becomes heavier, if fever develops, or if pain returns or worsens, reach out to your clinician for guidance.
Longer-term outlook: beyond two weeks
By now many people notice a smoother bowel pattern, less irritation, and fewer flare-ups. Outcomes are individual, so some may need additional management or, rarely, another treatment session. Ongoing attention to diet, hydration, and regular follow-up with your clinician helps optimize results. Lifestyle tweaks—consistent fiber intake, adequate fluids, and avoiding prolonged straining—can make relief more durable. If new symptoms appear, or if initial relief isn’t sustained, discuss your plan with your care team so it can be adapted. Red flags such as fever, persistent heavy bleeding, or worsening pain warrant prompt medical evaluation. This practical map is designed to support you as you plan daily life and prepare for the next steps in your care, including the upcoming closing reflections.
What To Do Next
Now that you’ve learned what the rubber band ligation procedure looks like in real life, you’re equipped to keep relief steady without turning your days into a medical scavenger hunt. This is your practical, friendly playbook—firm where it counts, but flexible enough to fit a busy life. Think of it as the post-episode guide to the relief you want, with enough humor to keep the nerves calm and the hope high.
Here’s a clear, doable plan you can actually follow. It centers on steady habits, smart self-care, and knowing when to reach out for help so you stay comfortably in the driver’s seat.
- Fiber-forward routine: aim for 25–35 grams of dietary fiber each day from fruits, vegetables, whole grains, and legumes. Pair with steady fluids to keep stools soft and moving smoothly.
- Hydration and medications: hydrate frequently and take any stool-softening or topical treatments as your clinician advised. Avoid introducing new remedies without confirming they won’t clash with your recovery plan.
- Gentle cleansing and sitz baths: after each bathroom visit, rinse with warm water and pat dry. A brief sitz bath a couple of times daily can ease soreness and promote comfort.
- Movement with purpose: light daily activity—short walks, light stretching—helps your bowels stay regular. Avoid heavy lifting for a little while, but don’t become a couch potato either.
- Symptom tracking: keep a simple log of pain, bleeding, bowel habits, and how you feel day to day. Share patterns with your care team at follow-ups so they can tailor advice to you.
Put together, these steps create a steady rhythm that supports healing, reduces irritation, and helps you regain control over your days. If you have a rough patch, refer back to the plan and adjust gradually—you don’t have to sprint to relief; you just have to move toward it.
When to see a doctor
- Symptoms that don’t improve within two to three weeks or worsen despite following the plan.
- Bleeding that is heavier than a few drops, or if you notice bright red bleeding that won’t subside.
- Fever, chills, or increasing pain, especially with redness or swelling around the treated area.
- New urinary symptoms, dehydration signs, or if you’re unsure how to proceed with medications.
If any of these pop up, reach out sooner rather than later. Your clinician isn’t trying to micromanage your life—they’re helping you maintain comfort while you heal, and they’ll adjust the plan as needed.
Urgent scenarios
- Severe or uncontrollable bleeding that won’t stop with basic measures.
- Intense, rapidly worsening pain or signs of systemic illness (fever with shaking, confusion, dizziness).
- Signs of infection around the treated area, such as spreading redness, warmth, or pus.
These are moments to treat as urgent rather than routine. If you’re unsure whether a symptom qualifies, err on the side of caution and contact your care team or seek urgent care. You’re not overreacting—you’re protecting your comfort and your health.
Bottom line: you’re building a practical, sustainable path to relief. Stay connected with your care team, adjust as needed, and remember that most people find their pace—one small, steady step at a time.